Install for Phoshop CS3
Fundy Album Builder and Workflow install the same way. Please follow these instructions regardless of program.
Unzip the trial package
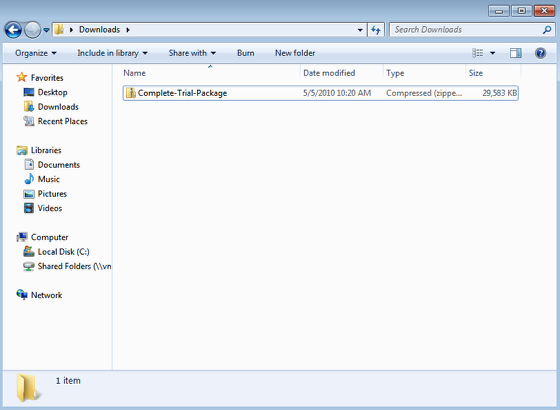
Double click on the trial package and open with your default archiving software.
Extract the files to the a folder.
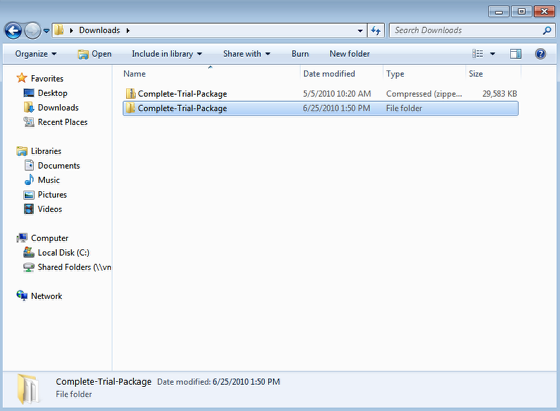
Once you have extracted the folder, open it and find the Album Builder.zip file.
Unzip the Album Builder.zip file
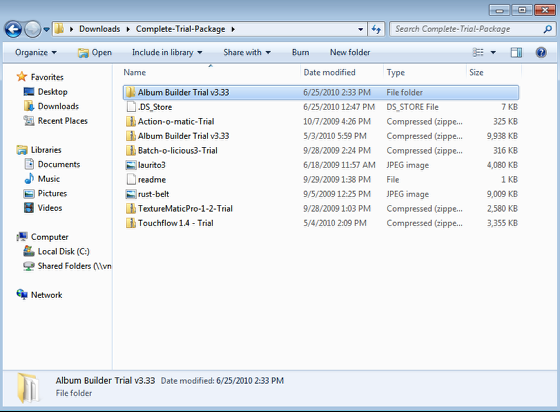
Repeating the steps above, unzip the Album Builder Trial.zip file in the directory of your choice.
Find the installer for your version of Photoshop
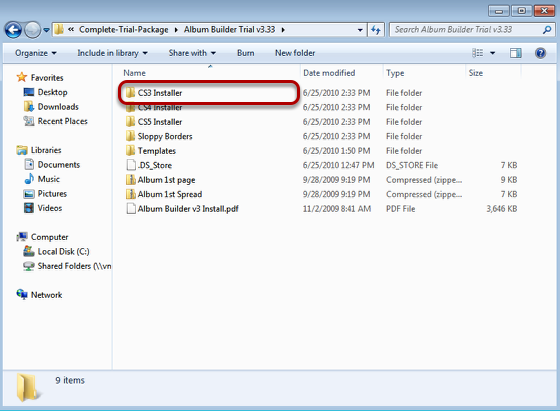
Find the folder that corresponds to the Photoshop version you are currently using, in this case CS3. IMPORTANT - Remeber the dirctory you unzipped it to. You will need it when you have to install through Photoshop.
Open Photoshop, begin the installation
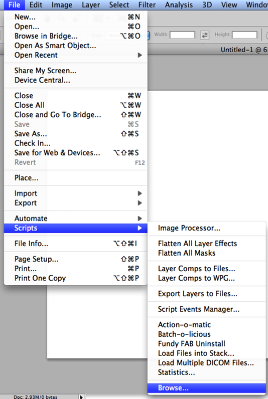
To install Album Builder into Photoshop CS3, you need to navigate to File>Scripts>Browse.. to locate the install script.
Naviage to the directory containing you Album Builder CS3 install files.
Locate Install.jsx, continue by clicking "Load".
You should be prompted with a "Thank you"
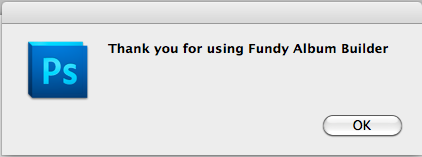
If you see this...you have just installed Fundy Album Builder!
Verify that it is installed into your actions panel
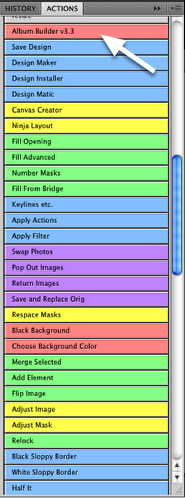
Because CS3 does not use Palettes like CS4 and about do, you will be using Album Builder through the actions panel. To verify that our installation worked, open the actions panel and look for "Album Builder V3". If your actions panel does not look like the one above, please move on to the next step.
Putting your actions panel into "button mode"
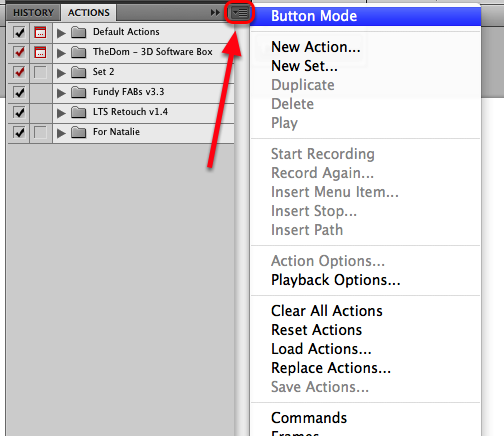
Sometimes, the actions panel just doesnt cut it. We use our actions panel in "button mode" for easier selection of our actions. With the actions panel open, click the panel menu button at the top right of the panel. Select "button mode" and you done!
