Making Blog and Facebook Templates
In this modern age, let's face it, we need to protect our images. One great way to do this, is to create blog collages, where are images are smaller and post them to our blogs and social media sites. This solves two problems. One is that it makes the images too small to steal. Additionally, it looks awesome.
What a blog collage might look like.
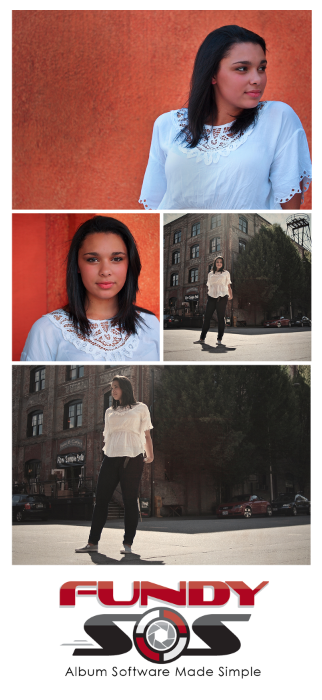
We have small images, to keep people from copying, and we have the brand at the bottom. This was super easy to make, just took a few minutes. The bonus is that you can save it out and replicate it very easy.
Step 1 - Create a Blank Document
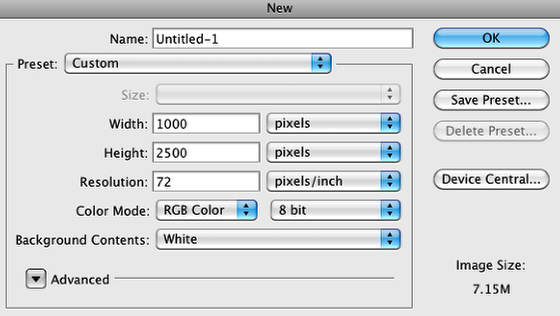
I've started here with a 1000px wide and 2500px tall document. Since this is for the web, let's do it at 72 pixels/inch
Step 2 - The blank document
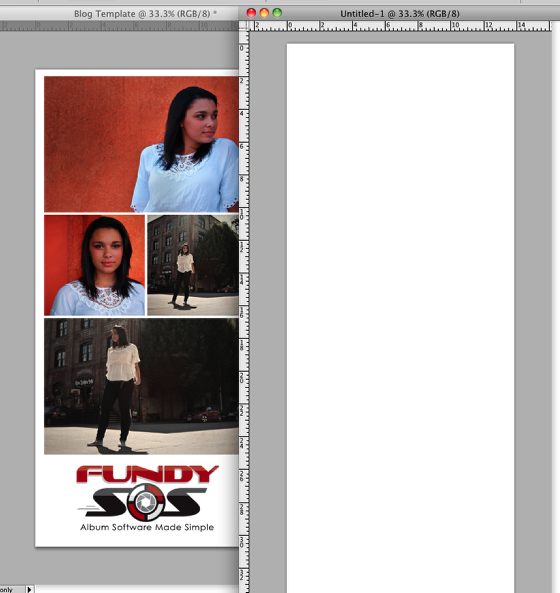
You see that the document is really longer than we need. It is better to have a document that is too long. We can easily crop it later.
Also, you'll want to make sure that the background matches the color of your blog.
Make your selection and choose ROW Maker
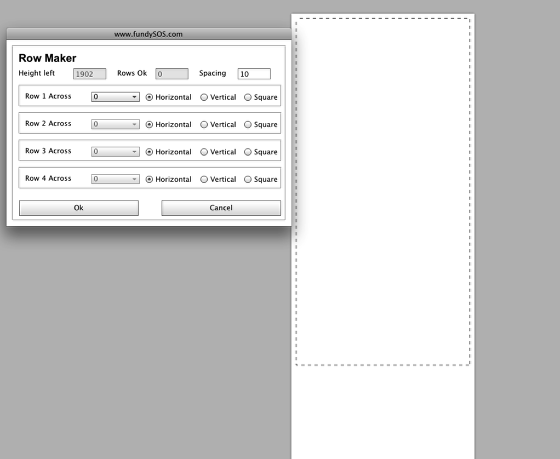
Make your selection and choose row maker. Here is a sample selection.
Make Your Choices
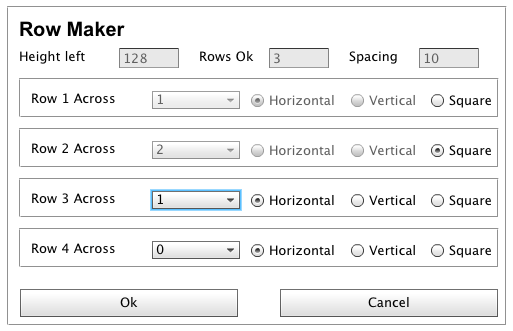
Make your row maker choices here. I've done one horizontal, 2 squares, 1 horizontal.
Result

This is the ROW maker result. Now we need to make a box for the logo.
Logo Box
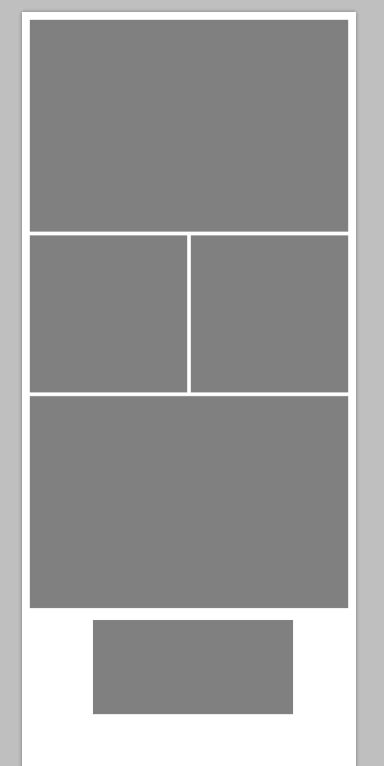
Here, I just use the Quick One up to make a box for the logo.
With images and logo
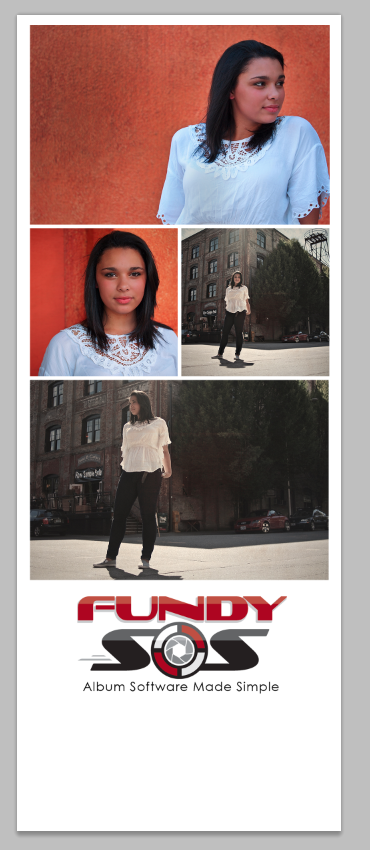
Here you see that I have the images and logo in and there is all this white space.
Crop
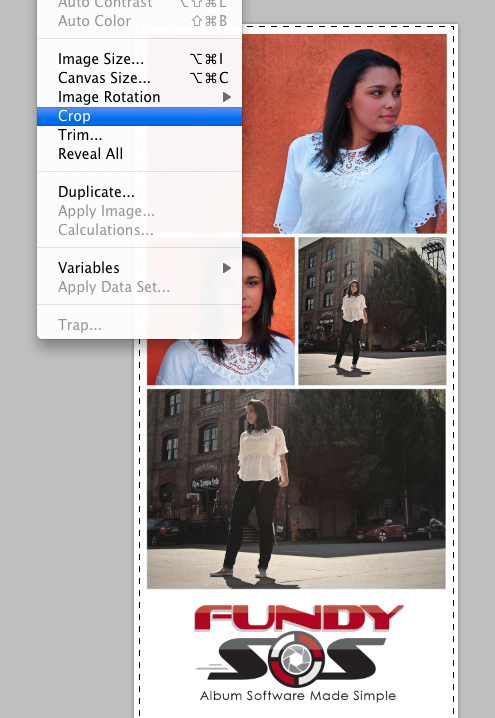
Now just select the area you want to keep and choose Image>Crop from the image area.
Save for Web
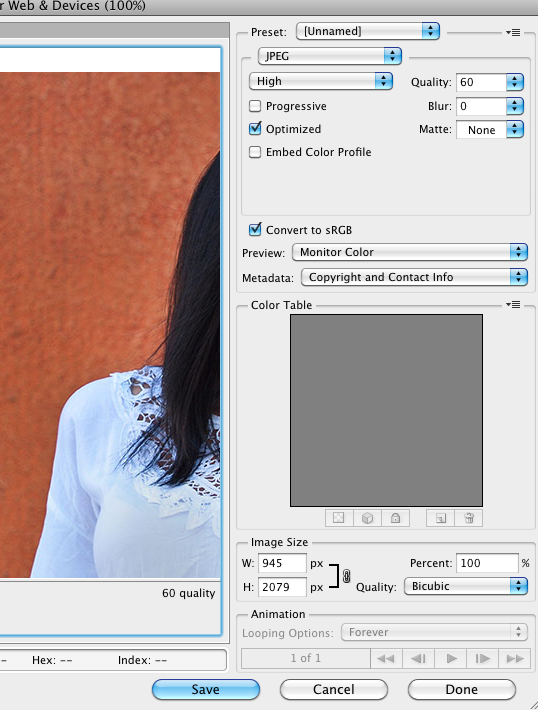
Now we want to go ahead and choose File>Save for Web. This will save it out web size. This collage is just over 200kb.
Save the Design
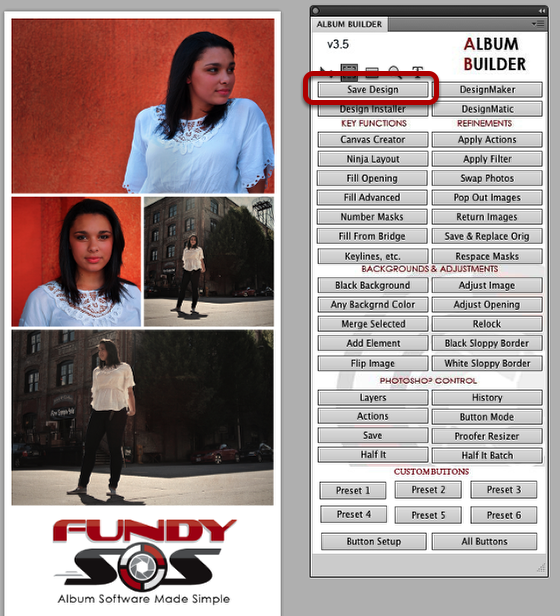
Now we want to save this as a design. Just click the save design button.
Make a Blog preset
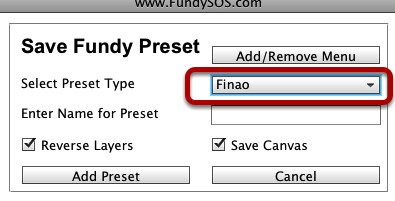
The first thing I want to do is create a preset group called Blog Templates, because chances are I'm going to make a lot of them. Just click the Add/Remove Menu
Make new group
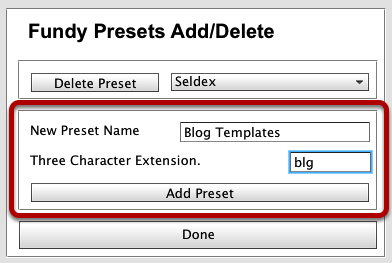
I'm going to name my Preset Name "Blog Templates". Also, we have to choose a three letter extension. This is what tells the program that all your blog templates go under the same menu. Then I click "Add Preset"
Name this design
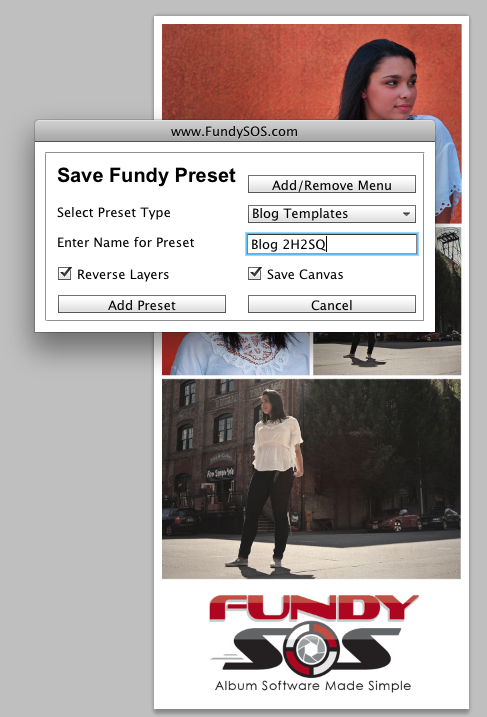
I'm going to name this one Blog 2H2SQ because it has two horizontals and 2 squares.
Replicate this design
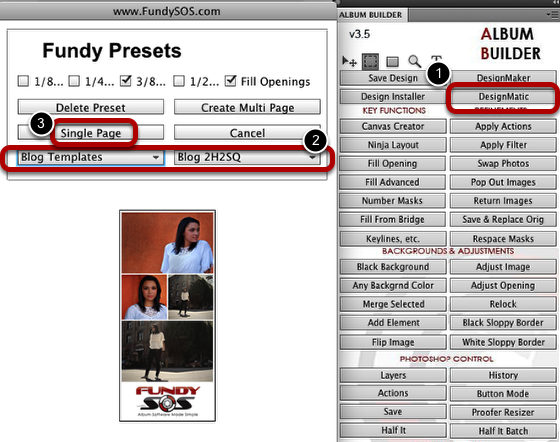
Now when I click DesignMatic, I can choose my blog template and click Single Page. I even get a preview of the design.