Using pre-design folders
One the keys to a successful workflow is breaking it down into manageable chunks. With Album Design, staring at a group of images makes it harder to design. The more images you stare at the more confusing it gets.
A technique that works really well for me is breaking down.
Choose the correct folder
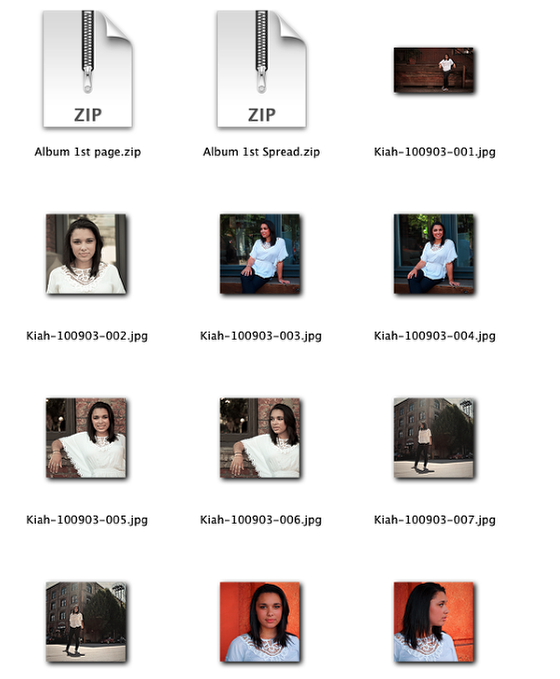
Inside of the Album Builder download, you'll find two sets of zipped up folders. All albums either start with a single first page (pages start on the right) or a double spread on the first page (first page starts on the left). Choose the appropriate folder. Here I'm designing a 10 page Finao Elements album, so the album starts with a single page.
Unzip the folder and choose number of pages.
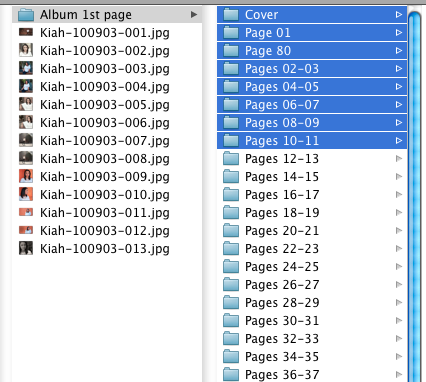
This album has 10 pages, so I'm going to select down to page 11. We'll fix the pagination later.
Drag the folders into the image folders
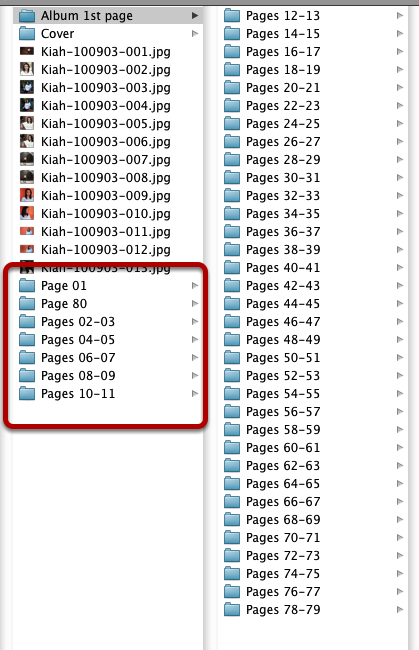
Now I'm going to delete the unneeded pages and clean up my folders.
Now I'm ready to Oganize
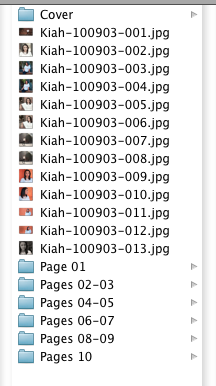
Now I have the pages I need. It just took a minute or two, but this will save you so much time, it is totally worth it.
Just open in Bridge
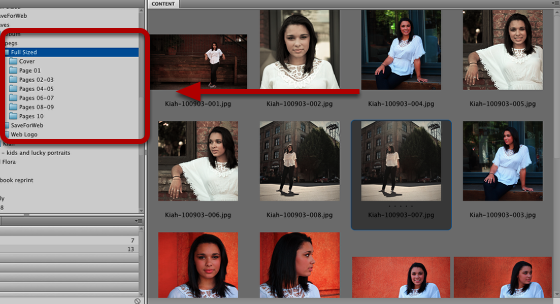
Now we are going to drag images into the folders.
Sort Into Folders
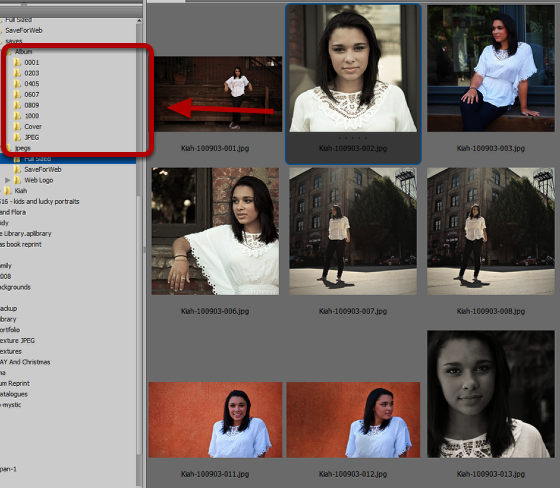
Now we simply sort images into folders. You can click and drag the images into the folders. The actual files will move into the folders. When you use an image, it will be gone from the main view. Cool, huh?
If you want to make a copy of the image into the folder, so you don't move the original file, then just option+drag (mac) or control+drag (PC).
Now start designing
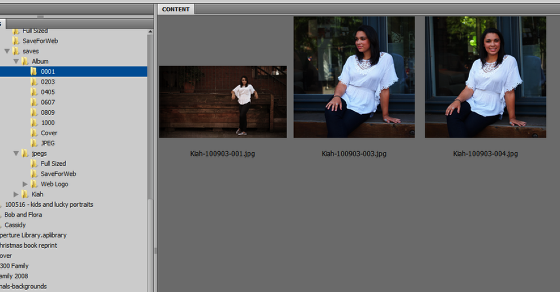
Now you can start designing your album. The cool thing now is that you are MORE than halfway done. It goes so fast now.
Design a spread, save it, then go to the next folder! Super duper easy.