Using Fill Opening
Now that you have created your boxes, you need to fill them with images. Here is how you do it.
Selecting Items in Photoshop Setup
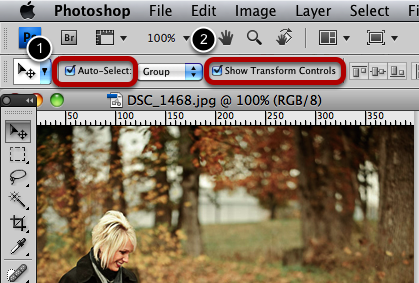
When selecting an item. It is much easier if you have Auto-Select and Show Transform Controls Selected.
Select the boxes you want to fill
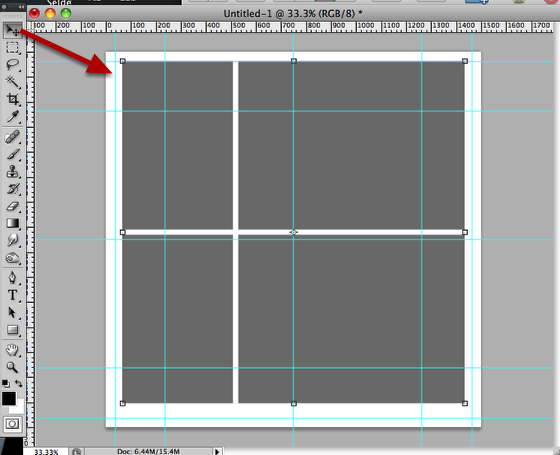
In this example, I have selected the top left box in the layout by highlighting the layer in the layers palette. By default, Album Builder will select all the layers you create after you have run ninjla layout. For this example, I wanted to be more specific.
In normal, every day use, you will select a group of boxes.
Select "Fill Opening"
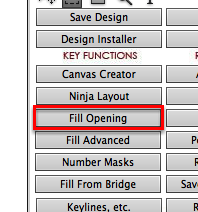
After selecting your box you would like fill, click "Fill Opening" on the Album Builder Panel.
Select your fill percentage
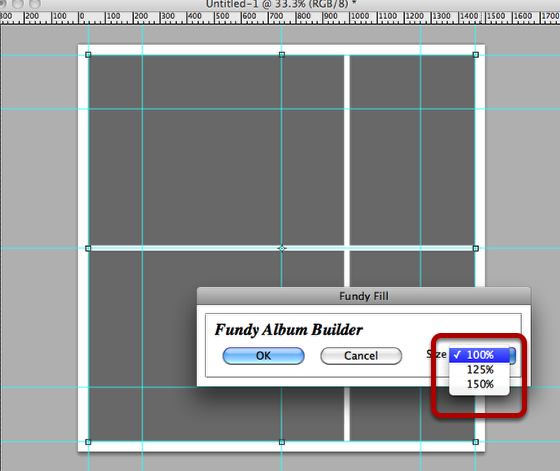
Here you will select your percentage.
The majority of the time you'll just leave it at 100%, which will make the image fit to the box. 125% and 150% percent increases the size of the image, allowing you to crop in on the image.
Box turns red
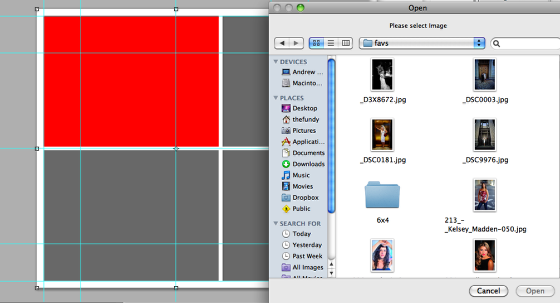
Notice, now the first box turns red. This guides you to where the box that you are filling is located.
Choose your image
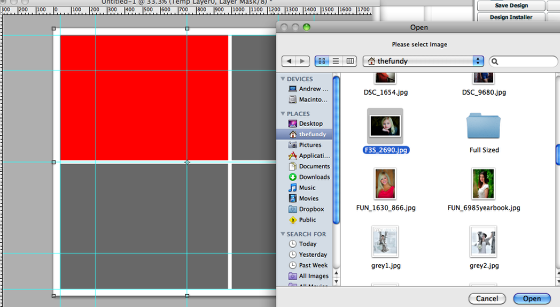
Select the image you would like to add in to your box. Click "Open" when finished. (or just double click on the image)
Adjust the placement of your image
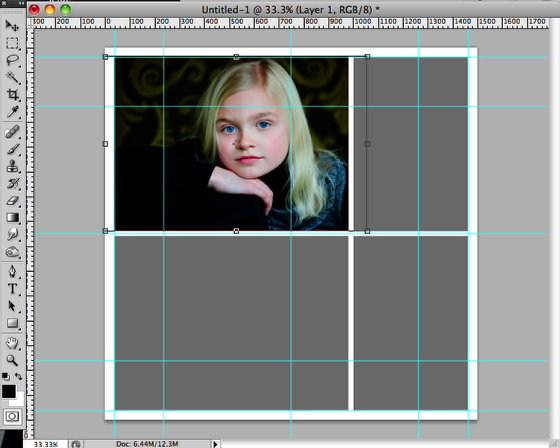
After you chose the image and placed it, you will see your image placed with controls around it. You are now able to move your image around the boxes to set the placement. Images are auto resized to best fit the box, but sometimes they dont fit right. This gives you the ability to move the image around before locking it into place. When you are finished with placement, just hit enter to lock the image into the box.
Fill and Repeat!
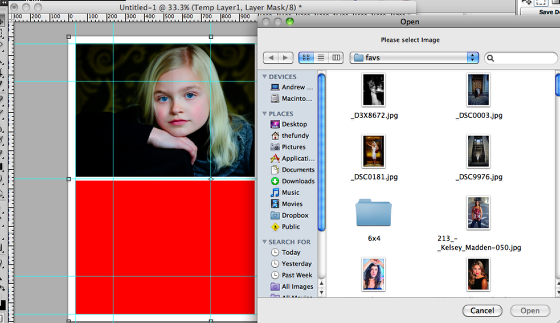
The next box automatically turns red and you fill the next image. This automation saves a great deal of time.