Adding/Managing album company presets
Adding company presets will save you time when designing albums for print.
The first step to adding album company presets

adding a company preset is a little different than adding a user preset. After clicking "Add Presets" in canvas creator, click "Edit Album Sets" to open your presets text file.
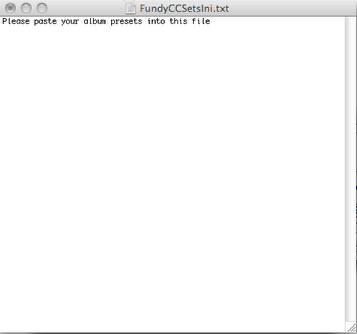
The presets text file.

The first time you open your preset text file (FundyCCSetsIni.txt), you wont see any presets inside. Company presets can be made manually following the same guidelines as the custom user presets. We also have a large selection of company presets that can be found on both the Website, and at the end of this manual.
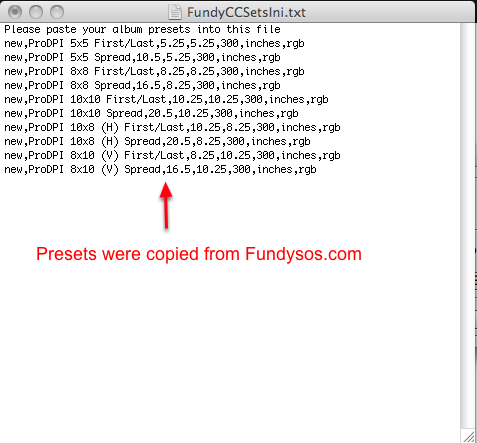
Adding presets to your preset text file.

So, you have the presets you want to add them to your presets file. All you need to do is find the presets you would like to use, copy it, then paste it into the text file. In the example above, Ive added the ProDPI presets that can be found on the Website, and at the end of the manual. After you have added the presets you want, make sure to save and close the file.
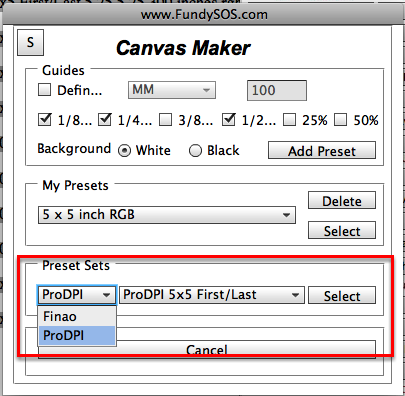
Using the presets after you have added them.

After adding the presets to the text file and saved it out, your now ready to use them! Open Cavas Creator and find the "Preset Sets" drop down. In the example, I added the ProDPI presets. As you can see from the drop down, our preset sets that we just added are now ready to use. Select the set you want to use, and then choose the specific preset you want to use from the preset drop down. Click "Select" when you are done. Photoshop will now create a canvas that is exactly what you need to start designing for your album.