Using the "Column Maker" button
The column maker is extreamly powerful. It will save you so much time when creating spreads. Lets see how it works.
Make your selection first (Remeber to keep proportions with column and row maker)
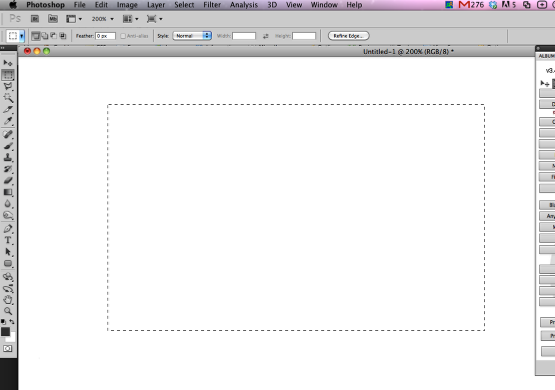
Fisrt things first, create a selection where you would like to make your grid of boxes that will later be filled by your images. Make a selection that will approximate the area that the design will take up. Note: if the area does not approximate the selected design, an error will result.
Open Ninja Layout
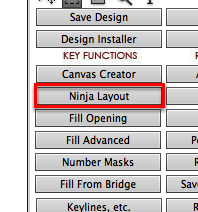
After making your selection, open Ninja Layout by clicking the "Ninja Layout" button.
Set your settings, and click "Column Maker"
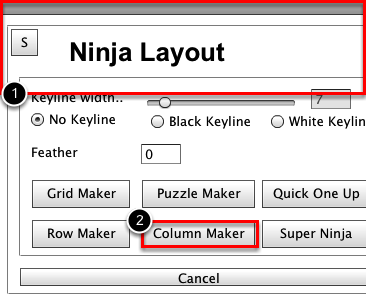
You want to set your settings for the boxes you about to create, and then click "Column Maker" button.
Setting up your colum
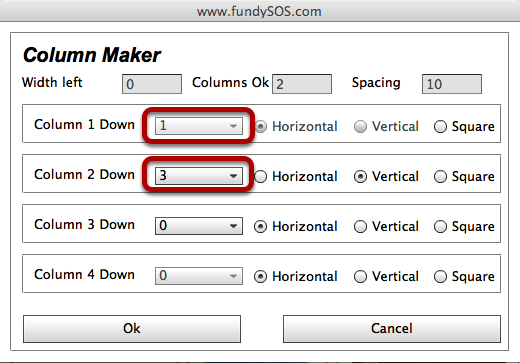
In this example, we have set up our columns in the following ways. We are telling column maker to create one horizontal in the first column and three verticals in the second column.
We did not tell column maker to do anything with the next two columns, but we could have used them too.
SHAZAM!
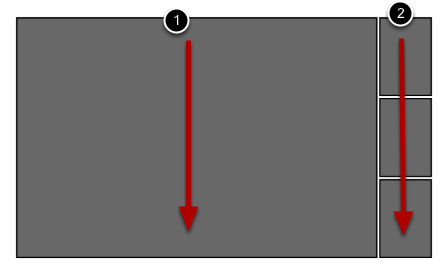
See, in the first column we have one horizontal, and in the second column we have three verticals. Super easy.